Long-Term Reports
LiveNX can generate long-term reports by using aggregated flows for faster results when dealing with reports that span greater than multiple days. Details of the aggregated flows can be found in Chapter 7 – LiveNX Flow, under LiveNX NetFlow Process Overview. The long-term reports using aggregated flows can be generated by:
• Creating custom reports and scheduling it for one week or one month
• Creating ad hoc reports that match the flow dashboards source that is greater than four days
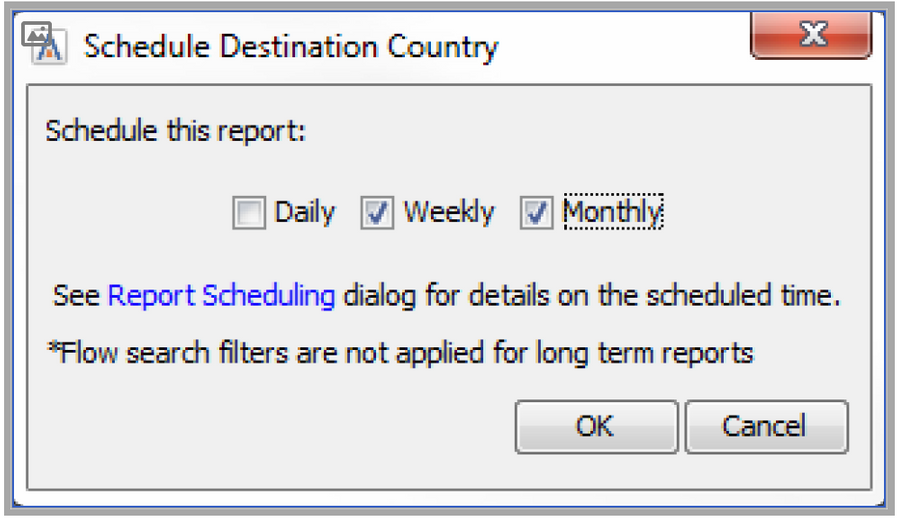
Schedule long-term reports by selecting the Weekly or Monthly check box in the Report Scheduling dialog box or right click on a saved custom report name in the Flow Report Tree and right click on Add to schedule.
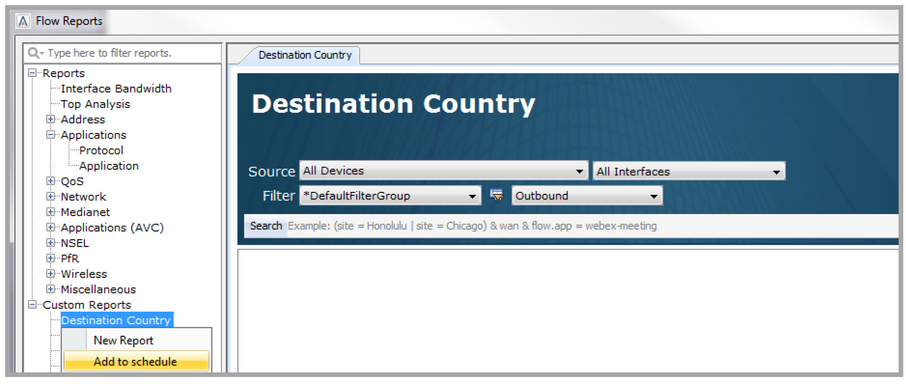
Choose Weekly or Monthly to add it to the Report Schedule.
Send Email Notifications
Clicking on the Send Email Notifications check box enables the e-mail service.
When the check box is enabled, the Configure… button becomes active.
Recipient Address: enter the desired recipients’ e-mail addresses separated by commas.
Go to the LiveAction Management Console and enter the LiveNX Server’s IP address or hostname in the HTTP server. host field in the Properties tab. This allows the hyperlinks for the custom reports in the e-mail to work. Click on Apply and then Stop and Start the LiveNX Server for the configuration change to take effect.
Max Rows Per Report: Use the up or down arrows to increase or decrease the size of the individual report. The minimum size is 50 rows; the default is 200 rows.
Click on Attach Reports to include the scheduled reports as PDF attachments.
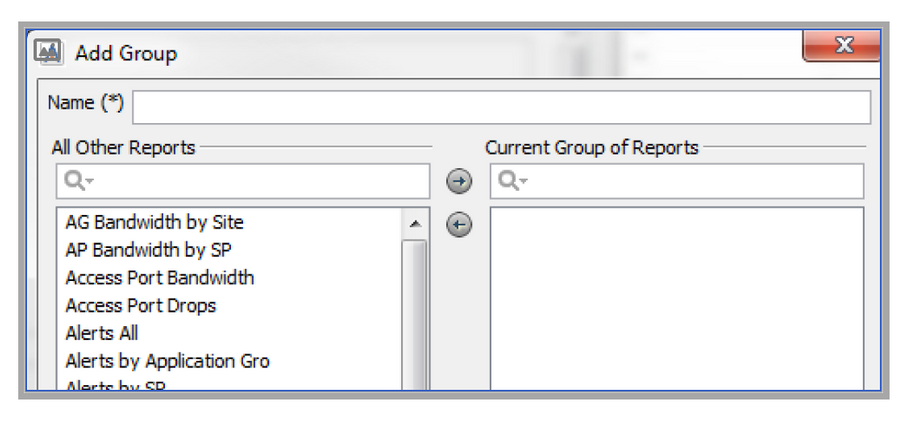
Click on the Collate and choose among All Report, By Technology or Custom. Choose All Reports to group the reports in alphabetical order. Choose By Technology to group the scheduled reports so all the QoS reports are together, all the Flow reports are together, etc. Choose Custom to collate scheduled reports in a user-configurable manner. Click on Edit Custom Groupings, use the Add button to define a custom report group, select from the other reports column and add that to the current group of reports. Your reports will now get collated based on the group definitions.
For details on Configure, please see Options below.